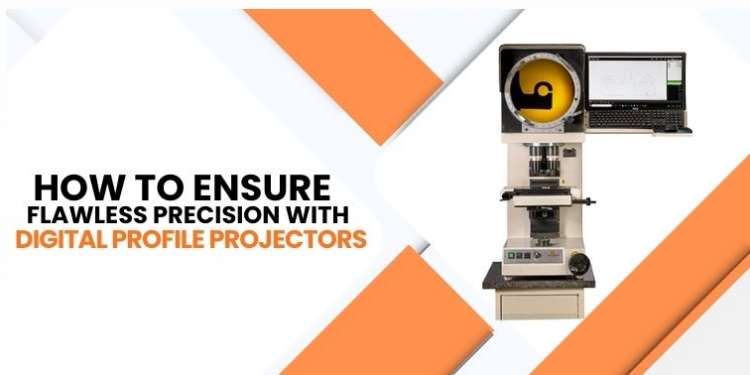
Accuracy is essential in every manufacturing industry when measuring small or complex parts. You require the best Digital Profile Projector to inspect them with precision! Discover the advantages of this useful tool and how this powerful projector plays a major role in improving quality. Getting the right tool requires research and evaluation of the brand.
Investing in the precise equipment is an important task. Always follow the essential guidelines to reach your desired tool of your choice and preference. Learn more about how you can get precise measurements quickly and easily. So be ready to grasp some of the essential information in this article.
How a Digital Profile Projector Works
The working process of a digital profile projector is simple. The process can be understood in a few simple steps:-
- Placing the Part: The component intended for measurement is meticulously positioned on the stage of the projector, which is designed with the ability to move both horizontally and vertically. This versatile movement allows for meticulous adjustments to ensure optimal alignment and precise positioning of the part being analyzed.
- Magnification: Within the projector, a specialized lens system is employed to magnify the part for detailed observation. The level of magnification can be adjusted based on the specific requirements of the measurement, with some projectors offering multiple magnification settings that cater to various part sizes and shapes.
- Projection: A powerful and bright light source illuminates the part, casting a sharp and clear shadow onto a viewing screen. This screen may feature either a finely calibrated grid or an advanced digital overlay, enhancing the clarity of the measurements displayed and aiding in accurate dimensional assessments.
- Digital Measurement: The projector is equipped with advanced digital measurement technology that accurately gauges lengths and other critical dimensions of the part. As the measurements are taken, a digital display showcases these values in real-time, significantly minimizing the potential for human errors and ensuring reliable and precise results during the measurement process.
How Digital Profile Projector Improves Precision
Digital profile projectors go beyond traditional Optical Profile Projectors by offering enhanced accuracy and real-time digital measurement. Here’s how they improve precision in industrial applications:
Reduced Human Error
One of the biggest advantages of a Digital Profile Projector is the reduction of human error. Unlike manual measurements in traditional Optical Profile Projectors, digital models use automated readouts. This ensures precise and consistent results, minimizing operator mistakes and improving the reliability of quality checks in manufacturing.
High-Resolution Imaging
Digital projectors are equipped with advanced optics and high-definition displays that deliver sharper, clearer images. This level of detail helps operators detect even the smallest variations in a part’s dimensions. The enhanced imaging ensures that critical defects or irregularities are spotted early, boosting overall measurement precision and accuracy.
Repeatability in Measurements
Consistency is key in quality assurance, and digital projectors provide repeatable results across multiple inspections. With stable optics and digital measurement systems, the readings remainaccurate regardless of operator differences. This repeatability ensures uniformity in production, reducing variability and maintaining industry-required quality standards over time.
Data Storage & Analysis
Modern Digital Profile Projectors allow measurement data to be stored, analyzed, and retrieved easily. This digital traceability makes it possible to track performance trends, identify recurring issues, and maintain records for compliance. By enabling long-term analysis, manufacturers can make informed decisions that lead to higher precision in production.
Integration with CAD Software
Some advanced digital projectors integrate seamlessly with CAD software, allowing direct comparison between measured parts and design specifications. This feature ensures manufactured components match the original design with minimal deviation. Such integration bridges design and inspection, providing unmatched accuracy and reducing costly errors during production.
Faster Inspection Time
Digital automation significantly reduces the time required for inspections. Features like automated edge detection and instant dimension readouts speed up the process without compromising accuracy. Faster inspection means higher throughput in production lines, while still maintaining flawless precision and consistent measurement quality across all inspected components.
Conclusion
In conclusion, a digital profile projector is an essential tool that delivers accuracy and efficiency. It simplifies inspection by magnifying parts and providing exact digital measurements. It remains one of the most useful tools in the industry.
Take time to research and invest wisely. Explore the top Optical Profile Projectorfrom SIPCON to achieve a reliable result!


